Are you stretching your creativity? I have to be learning to prevent boredom, so I’ve challenged myself to do two things. 1. Make the inside of the card unique and pretty and 2. Add an element that can be a keepsake. The Magnet idea was inspired by Tina at Cardsandcoffeetime.com 💝

Recently I posted a card showing how to make an EASY shaker element. I combined this with cut magnet sheets to create a removable keepsake magnet. I also added card liners (typically seen only in high-end invitations, etc.) for a unique and high quality touch. 1 idea 4 CARDS! 2 with magnets, 2 without. Let’s break it down…
Magnet Creation
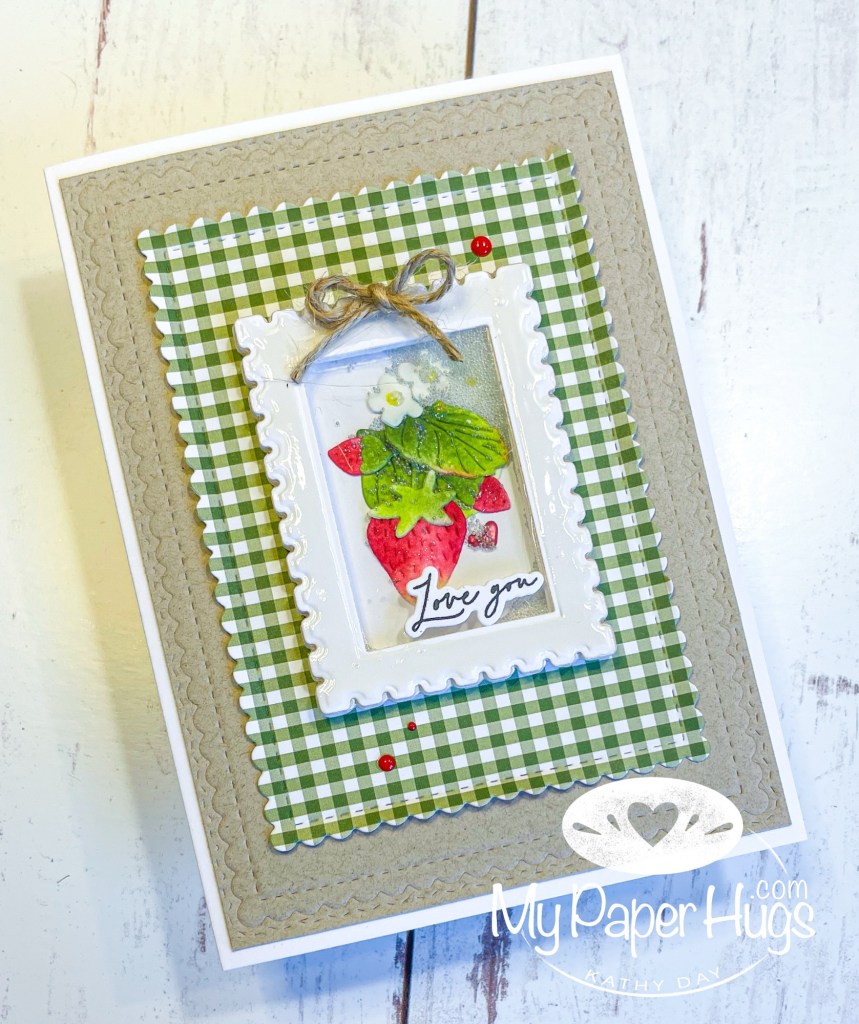
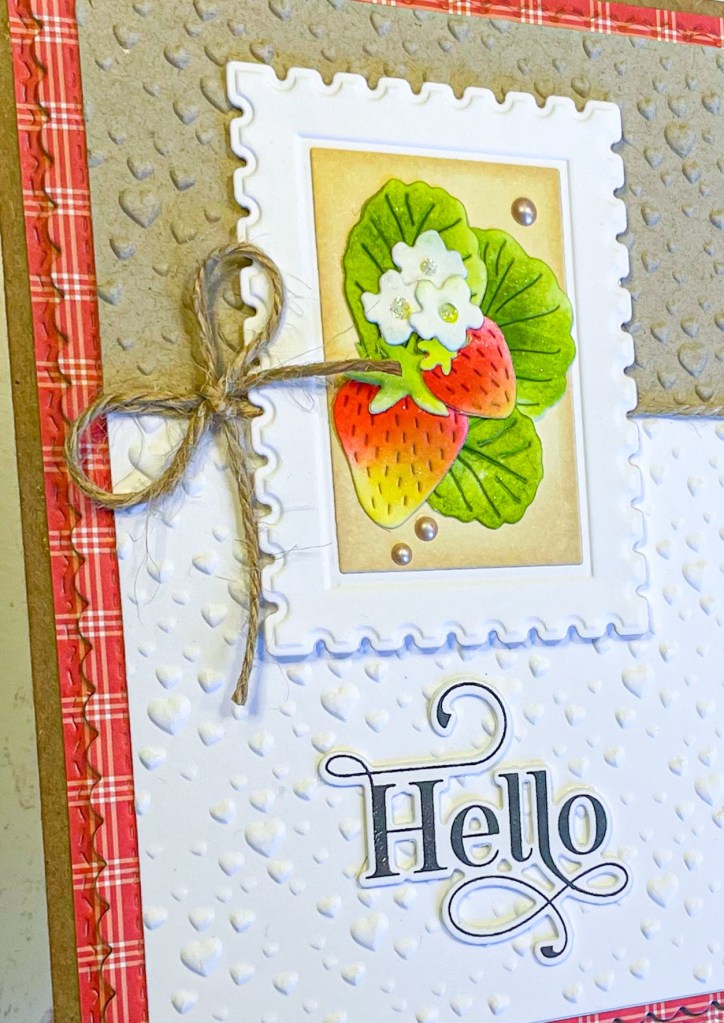
Using Spellbinders 3D Postage Stamp Embossed and Cut folder (one of my new favorites), I cut 3 times for the frame, once for the backing, plus once with fun foam. These are thick magnets. You can reduce the cuts if you want it thinner. The Strawberry arrangement is from The Greetery Botanicuts Strawberries. I cut them from white cardstock and ink blended the pieces.

When cutting small pieces to color, leave them in the negative panel and color the pieces before removing them.
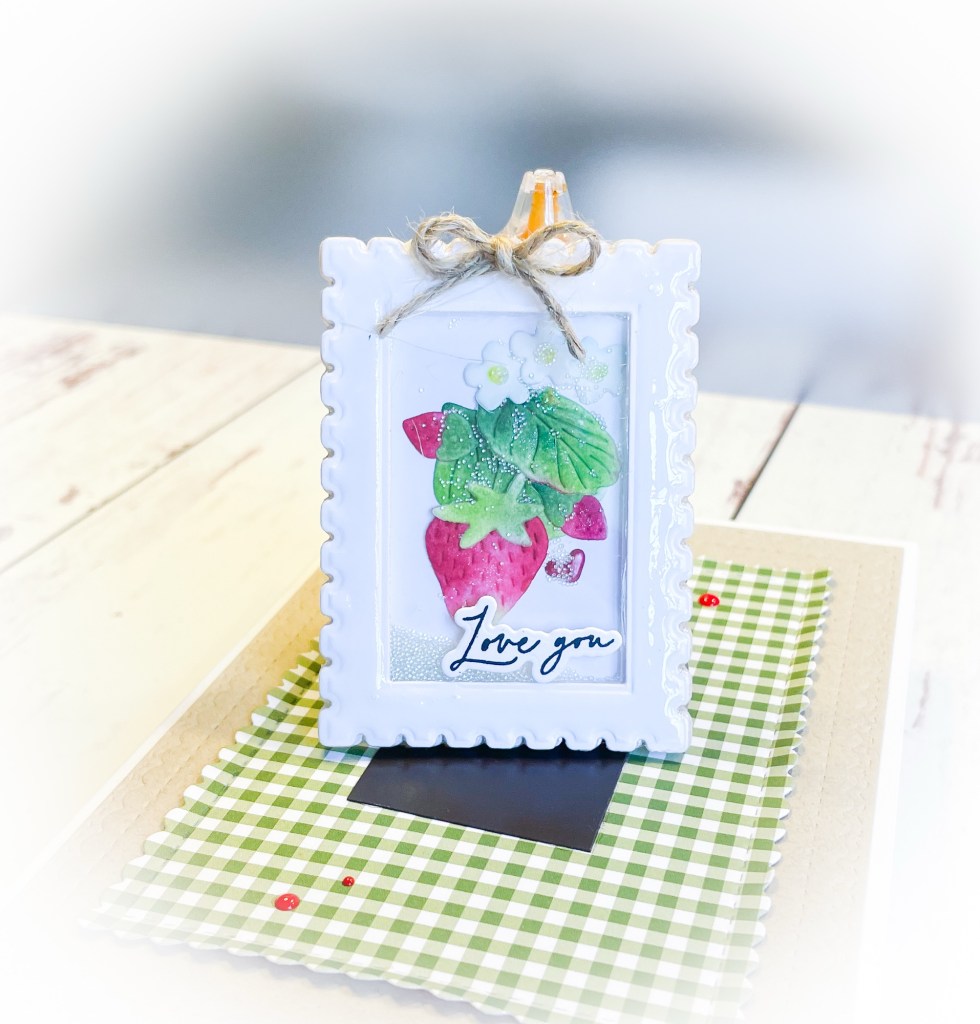
Arrange and glue the strawberries on the solid back panel. If you’re adding embellishments, now is the time to do that. Using 1 frame cut, glue acetate to the back and add another frame behind that. (I added two – this is just a preference). I glued the foam frame behind these. Flip over and add your shaker bits (not to much!). Add liquid glue to the foam and glue strawberry panel to this. Put something heavy on this and let dry so it will be flat.
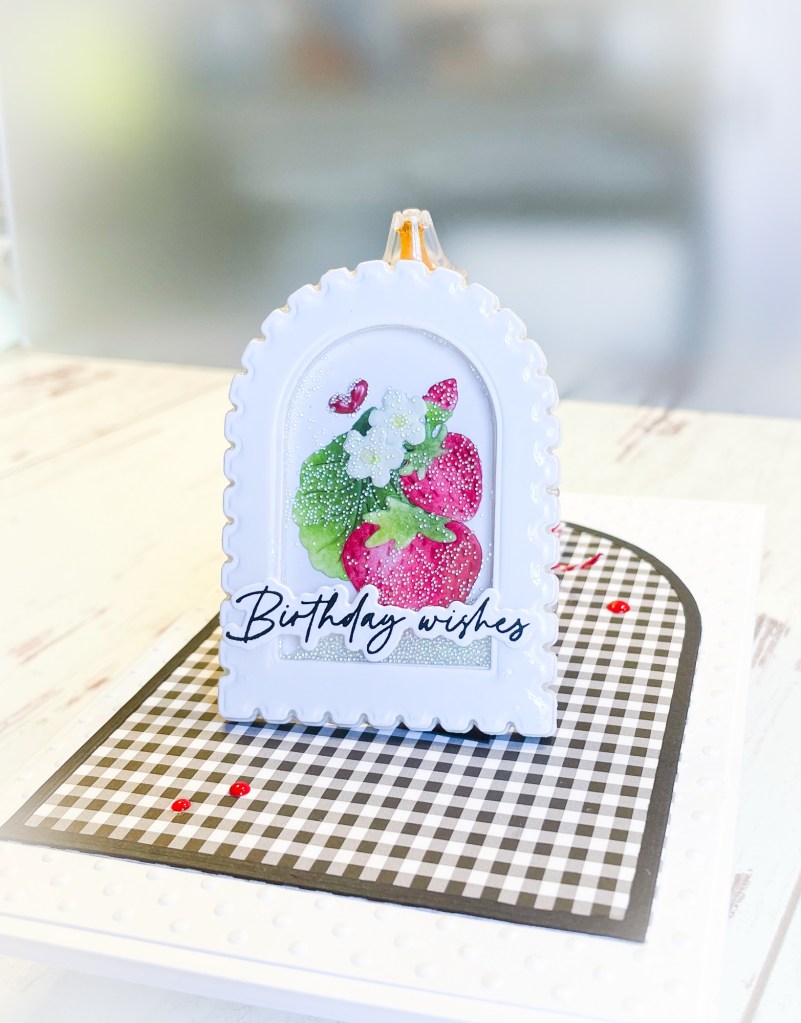
To make it appear like ceramic, I covered the front frame with Glossy Accents. Once completely dry, I cut two identical magnets from a magnet panel, gluing one on the back of the shaker. Save the other. It will be stuck to the front of the finished card so your recipient can remove and use.
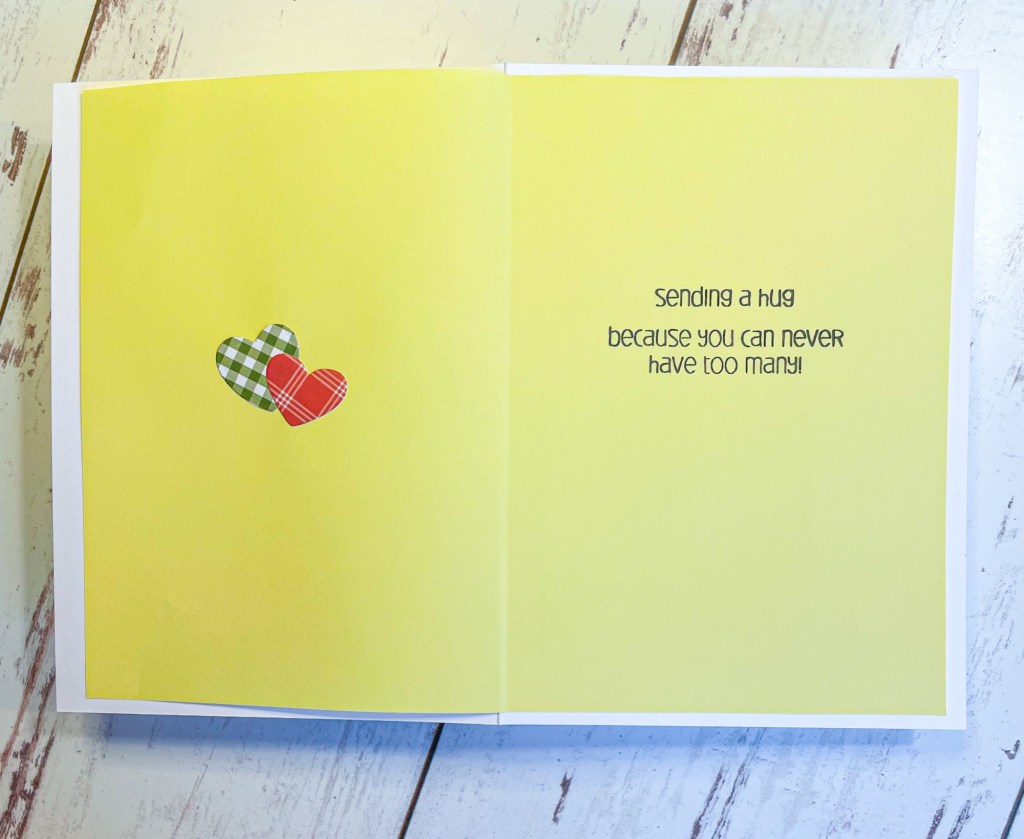
Inside Card – Liner Elegance
This is an elegant touch, but actually makes it easier on you as a card maker!

You can make several stamped liners with different sentiments to have on hand for other cards!
From lightweight paper (I used stationary paper from my computer stash), Cut the paper 1/2 inch smaller than the card. (A 5×7 liner cut would be 9 1/2 x 6 1/2) Score down the center and fold. Don’t skip the score, the fold is harder to achieve than you think.
Stamp the greeting. Now this is the important part. (Trust me, I’ve done it many ways and this is the best way for that finished look) Insert the folded liner inside the folded card base. Partially close the card. While closed, CLIP or hold tightly the left hand panel to the card base. Open the card and close the right liner panel over the left panel. The liner will look slightly offset from the center fold. This is what you want.
With a thin strip of double sided tape, place the tape close to the fold. You are placing it on the back of the right hand liner panel. Remove backer and close the card base over the liner. Now your card will open and close nicely without any damage to the liner. I decorated the panel with matching hearts.
The dies I used for the focal panels and this card’s mat is the Lace Frame Die on Amazon. The Arched die was an older nested die set, but many companies have arched nested dies.
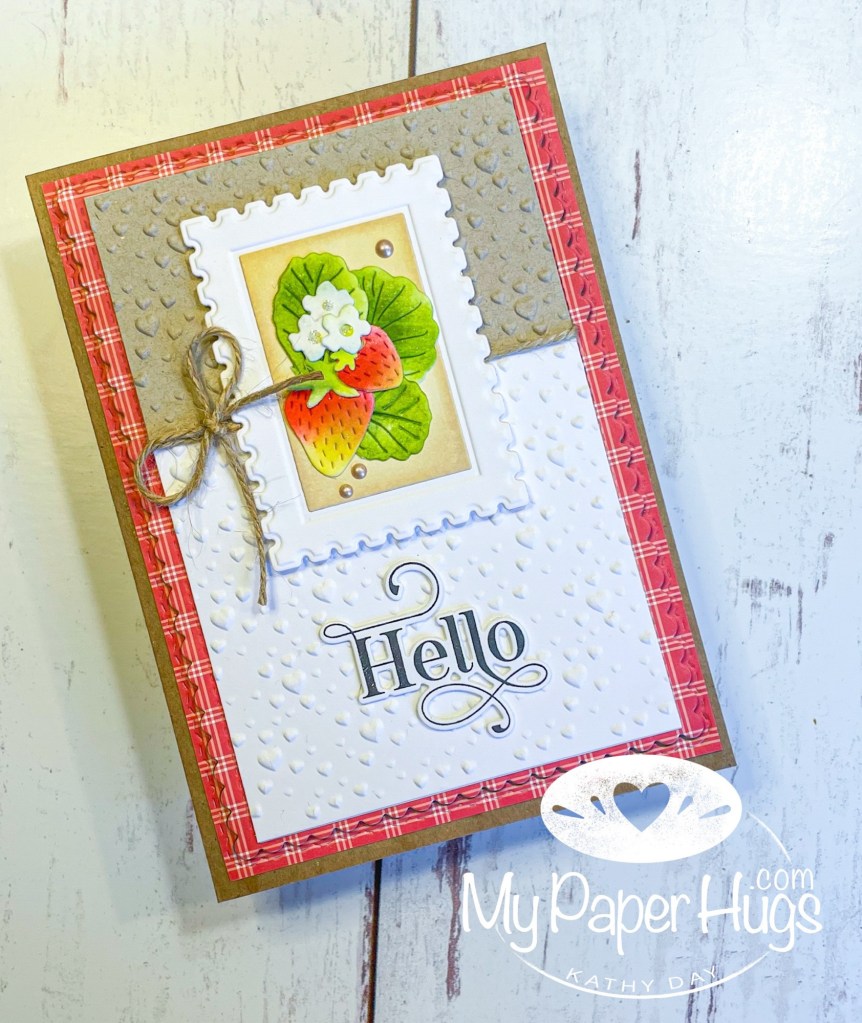

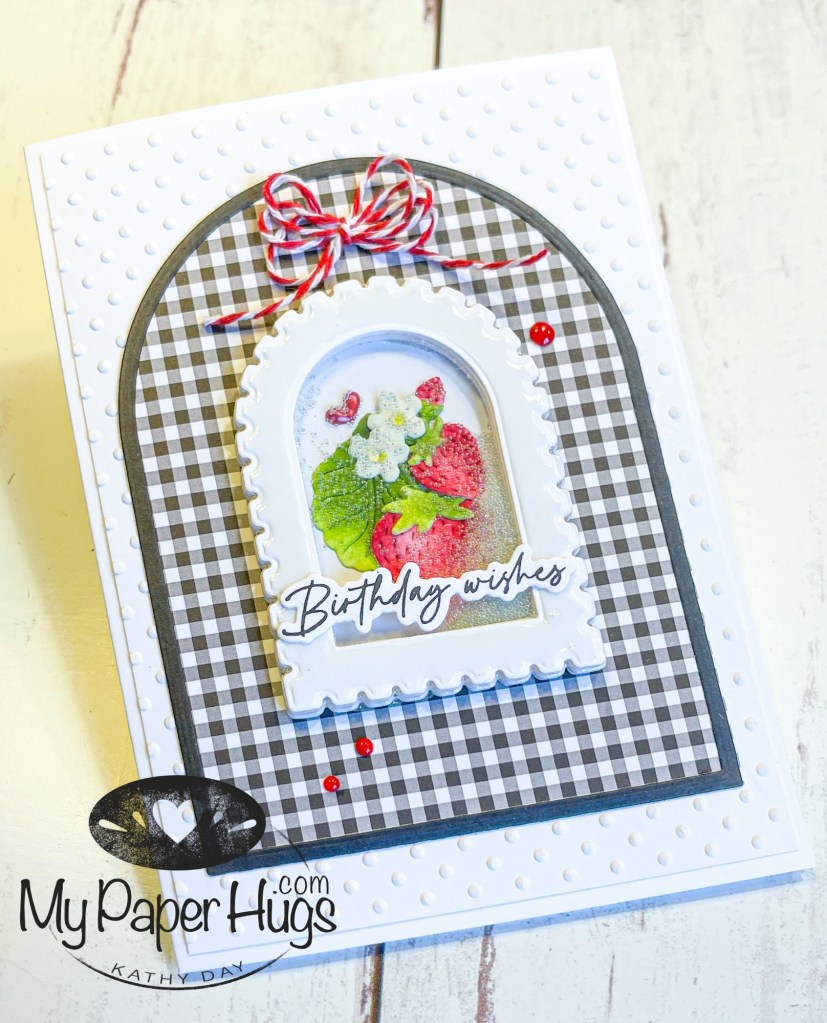
I used the Falling Hearts embossing folder from SSS for the focal panels. Run it once on Neenah Desert Storm and once on white card stock. Stack them together and cut once. They will fit together perfectly.

Emboss the lower portion of a card panel with Gina K’s Swiss Dot Embossing folder then glue the patterned paper above.
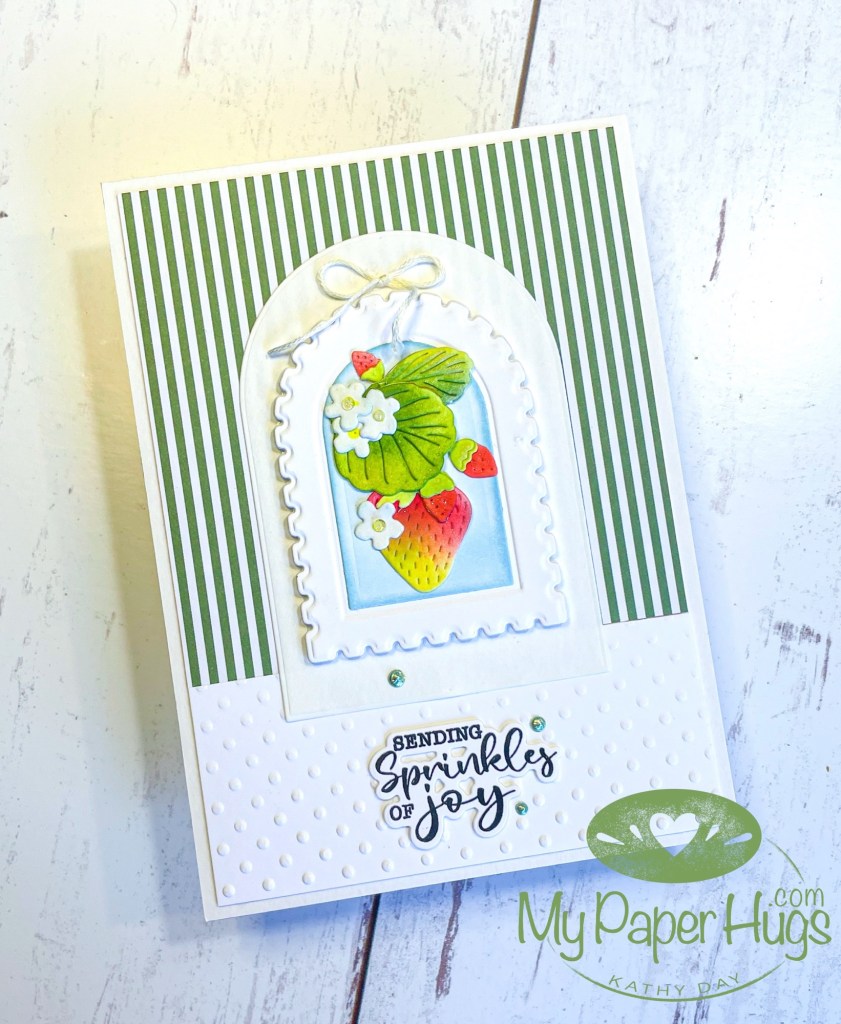

Now add your focal panels and embellish. For the magnet cards, add your second magnet square directly to the card panel. I add a little note inside letting them know they can remove the little gift and that it’s magnetic.
Love Nuvo drops or glitter drops, but not the dry time? On a piece of backing paper (the paper you pull from double sided adhesive sheets) mounted to some cardstock, make drops in all your colors. Let them dry overnight and store in a parchment sleeve. They can easily be removed and ready at all times. Just glue down!
Would love to see your creations! You can post on my facebook page so we can celebrate or if you’re on instagram use #mypaperhugs to tag! Hugs all around – Kathy

Products
Gina K Swiss Dot Embossing folder|Neenah Desert Storm Card stock|SSS Falling Hearts Embossing Folder|Lace Frame Die|Spellbinders Postage Emboss and Cut|The Greetery Botanicuts Strawberries


Leave a reply to mediffey Cancel reply