
I believe in Angles and believe they are dispatched to help us in many ways. Children are also dear to me, so it should stand to reason I love making cards that feature them. This little love could be a child or angel…take your pick ❤️. Sharing a paper hug as I’ve included a free PDF download guide below for cutting and scoring this Shadowbox!
Inspiration
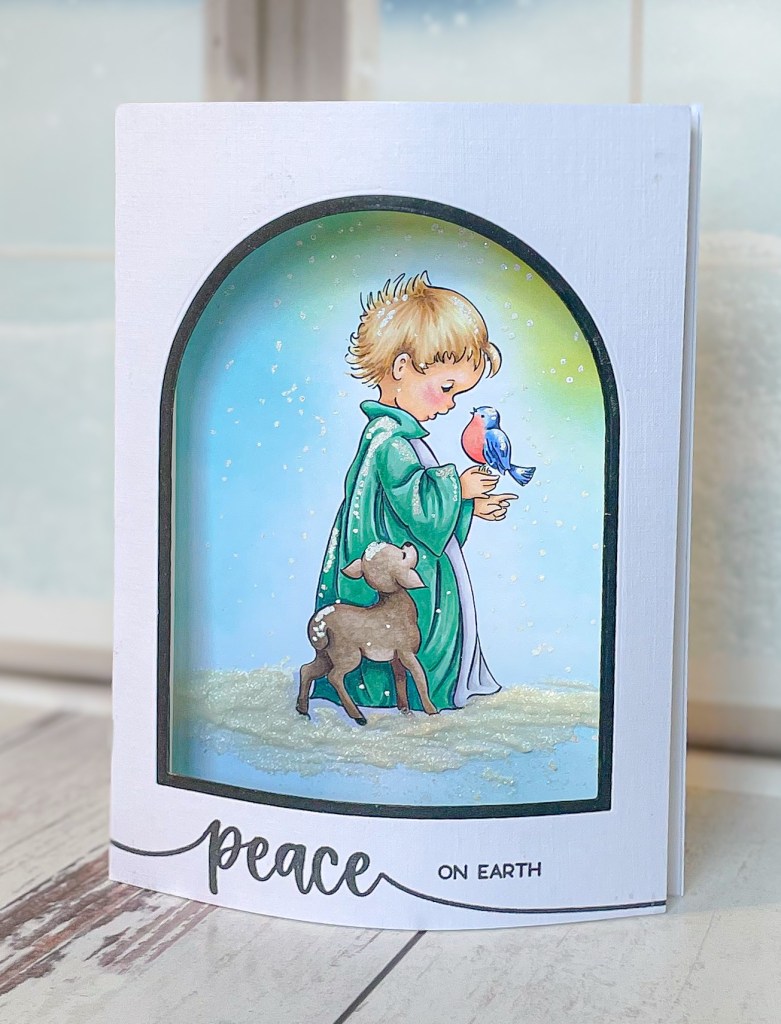
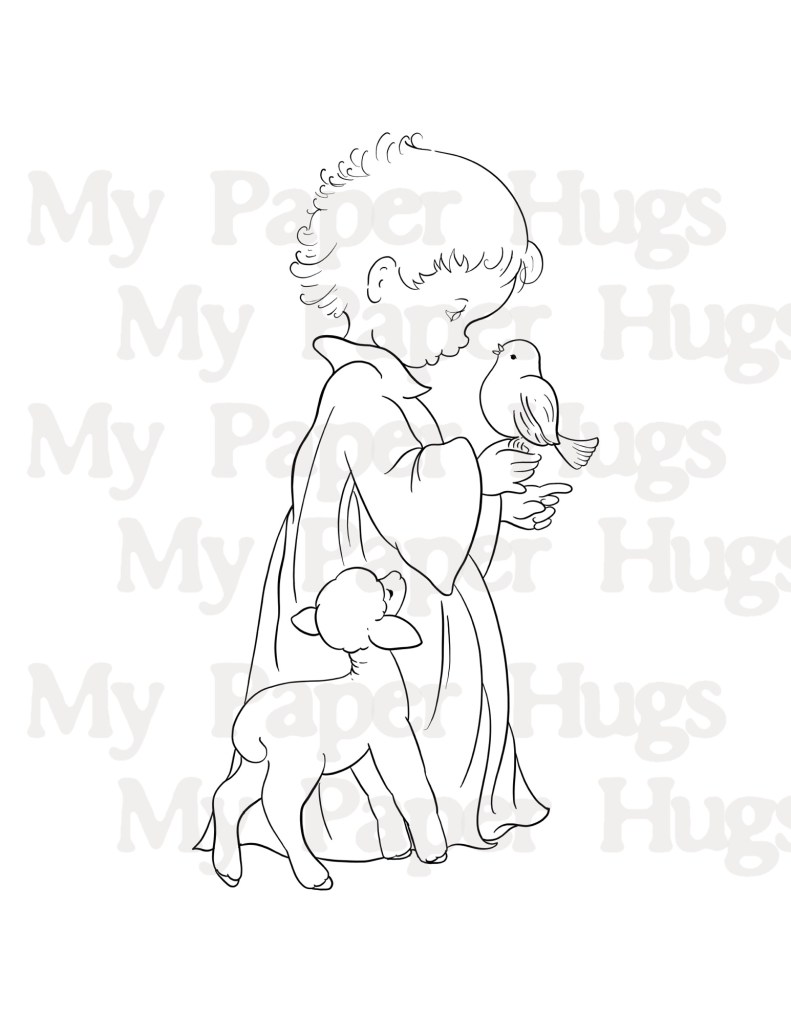
I have a photo of my son when he was about 2. He is gazing at a ladybug on his finger and looks remarkably like the little one on this card. When I saw a vintage card with this angel, I created a hand-drawn piece I could print. The Shadowbox idea was a perfect addition!
Creation
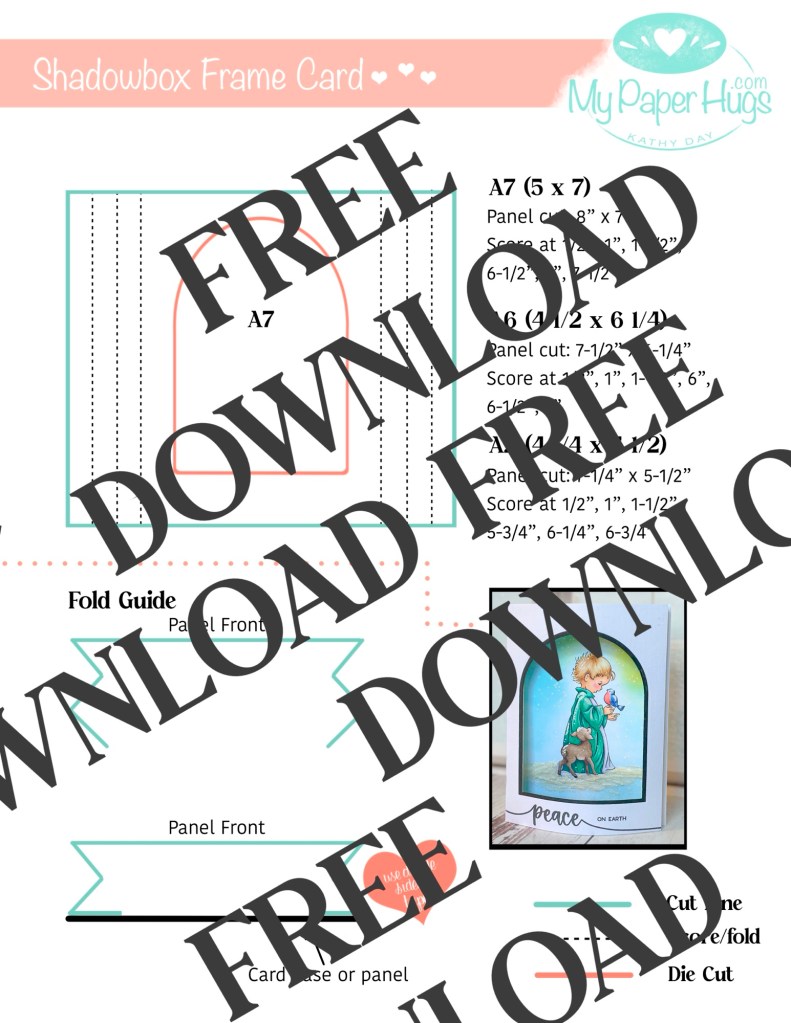
This is an A7 Card. First, make your life a little easier and grab the free Cut and Score guide below. You will have what you need for an A7, A6 or A2 size card.
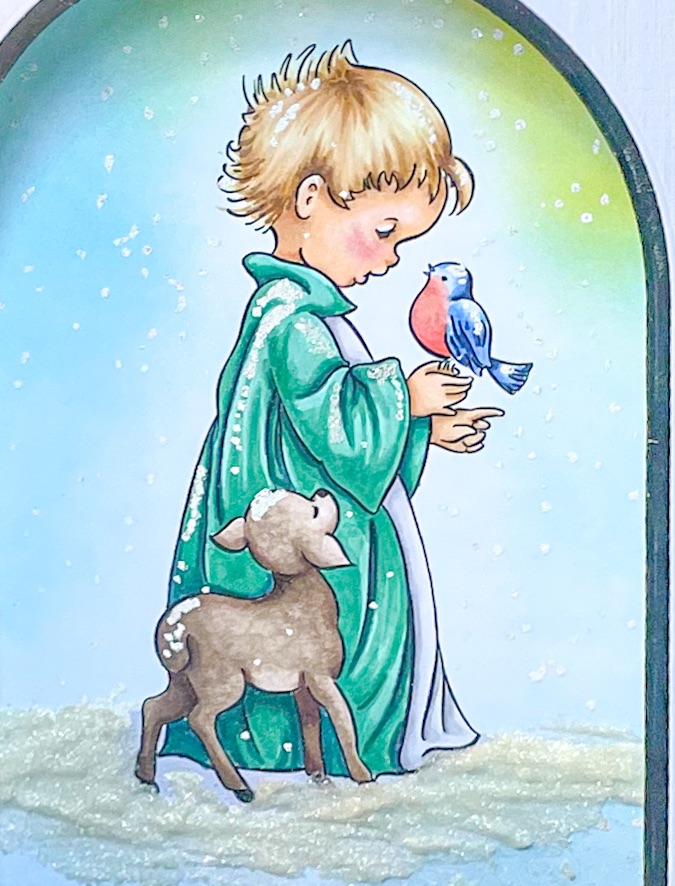
- On a 5×7 panel, I colored the image with Copic alcohol markers. The background was ink blended with distress ink from Tim Holtz. To make the snow, I used Glitz glitter gel from Gina K (Iridescent) and spackled it on with a pallet knife. You can carefully dab some on the shoulders, etc. of the image. If you make a mistake it can be lifted off easily. I let this dry overnight.
- With a Versamarker – the marker, not the pad I dabbed dots and dashes for the snow. I added the Ranger Frosted Crystal embossing powder and melted that. While it is still very warm, quickly sprinkle with Rock Candy Crystal Glitter and heat again. It’s magic.
- With Linen texture card stock I made the Shadowbox. Download the guide for details on exactly how to make it. Before folding, stamp your greeting with an Archival or Pigment ink (if you’re using linen cardstock). From the frame die used to cut the “hole”, I used that one and one size larger to cut a black frame and glued it to the front. You could also use one size smaller and cut from black cardstock, then mount to the back. Whatever works for you!
- Assembly: Mount your angel panel to a white card base. Make sure it’s centered in your window. Fold the Shadowbox according to the guide and mount to the front of the card. I used double-sided strong adhesive for this.
- No additional embellishments or bling was added to the card……..the star of the show is the drawing!
- This sits by itself on a surface and any light that shines down through it creates a wonderful “extra” glow.
Download the Guide Below!
Hugs for Crafty Companies
The Tim Holtz Rock Candy Glitter and the Frosted Crystal is over at Simon Says Stamp. Can you ever go wrong with Tim Holtz products? Thank you Tim!
Thanks to Gina K for the Iridescent Glitter Gel! They come in several colors and I used color 18154.
Honeybee Stamps carries the VersaMarker – Thanks Honeybee!
Thanks for stopping by and Hugs all around! – Kathy


Leave a reply to susan bennett Cancel reply