Playing with color pallets and getting creative with backgrounds keeps me in my happy place. This arched sentiment set from The Greetery will keep you creating for hours! (Product links below) For the bonus, I’ll share how each of these card backgrounds are different and how you can create your own.


Inspiration
I love arches and use them a lot in my designs so this set was perfect. Where do you get your color and inspiration from? Most of the time my inspiration comes from photos. My son takes the most beautiful pictures and a lot of them, so I have a never-ending supply of inspiration to choose from. After all, God‘s color pallets are perfect. 😍
Creation

These are A6 cards (my new favorite size) and the stamp/stencil/dies are available at The Greetery
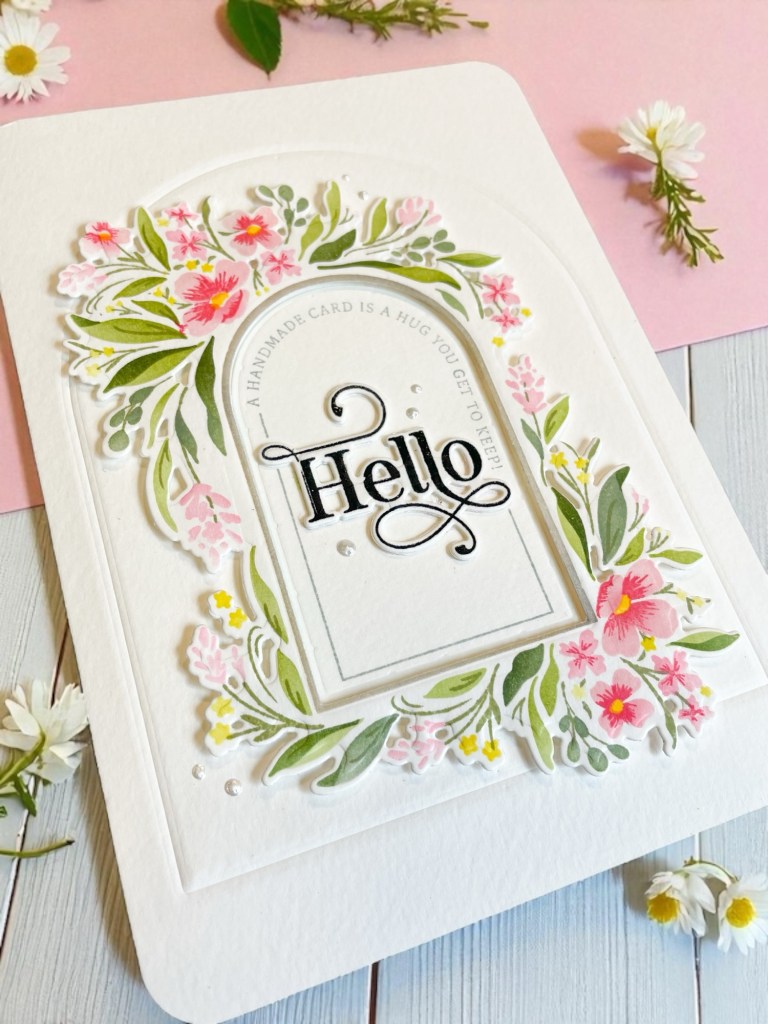
- Texture really adds interest to these cards so for your panels start with any kind of watercolor card stock. The more texture the better. Mine was a medium weight.
2. Choose your color palettes and stencil the beautiful florals on a watercolor panel with the included stencil.
3. I used the floral die to cut out the floral panel. For the second and third card, I didn’t use the die, in case you don’t own it!
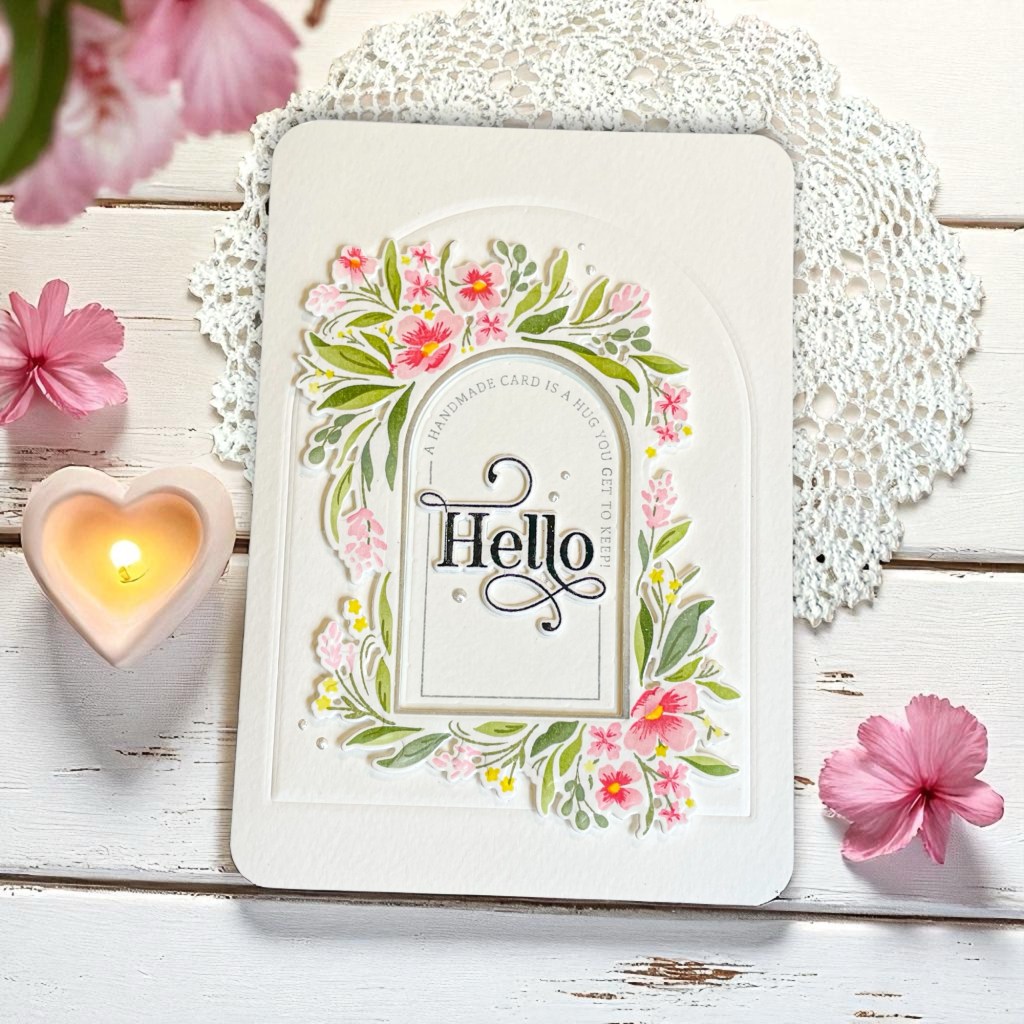
4. On a separate piece of watercolor stock, stamp the arched frames with their background sentiments included in the set. We will put these behind the front panel for dimension.
5. Creating the backgrounds: using the arched die that is included in the floral die set, I cut an arch from the center of a clean watercolor panel. For the second and third card, you would cut this from the center of the stenciled panels. Every panel has dimension added by using frame dies as embossing elements. Just use an embossing mat vs a cutting plate. The impressions are deep because I used watercolor paper.
6. Center your stamped arch behind the main card panel. I popped mine up with narrow foam, but you can layer it flat as well. Liquid glue is fine for this. I glued the panel to a white card base at this point.
7. With small foam strips, I glued them to the back of the floral cut out and fixed it to front of the panel.
8. Now stamp, die cut and layer your sentiment and glue to the center arch element. I do several at a time to have some on hand. In this case, I didn’t heat emboss the sentiments, but you certainly could.
9. Finishing touches: I used a corner rounder to punch the corners of the card (for grins and giggles 🤭). Beware, this takes a lot of strength! Then I used my Nuvo Crystal Drops – Ivory Seashell to add tiny pearls here and there.
Would love to know if you gave this a try!
Hugs all around – Kathy
Hugs for Crafty Companies
***Disclaimer: I do not receive any Monetary compensation for these products.
Thanks to one of my favorite small businesses, The Greetery never disappoints. The quality is top notch.
Floral Arches Stamp and Stencil
Floral Arches Stamped Sentiments


Leave a reply to mediffey Cancel reply