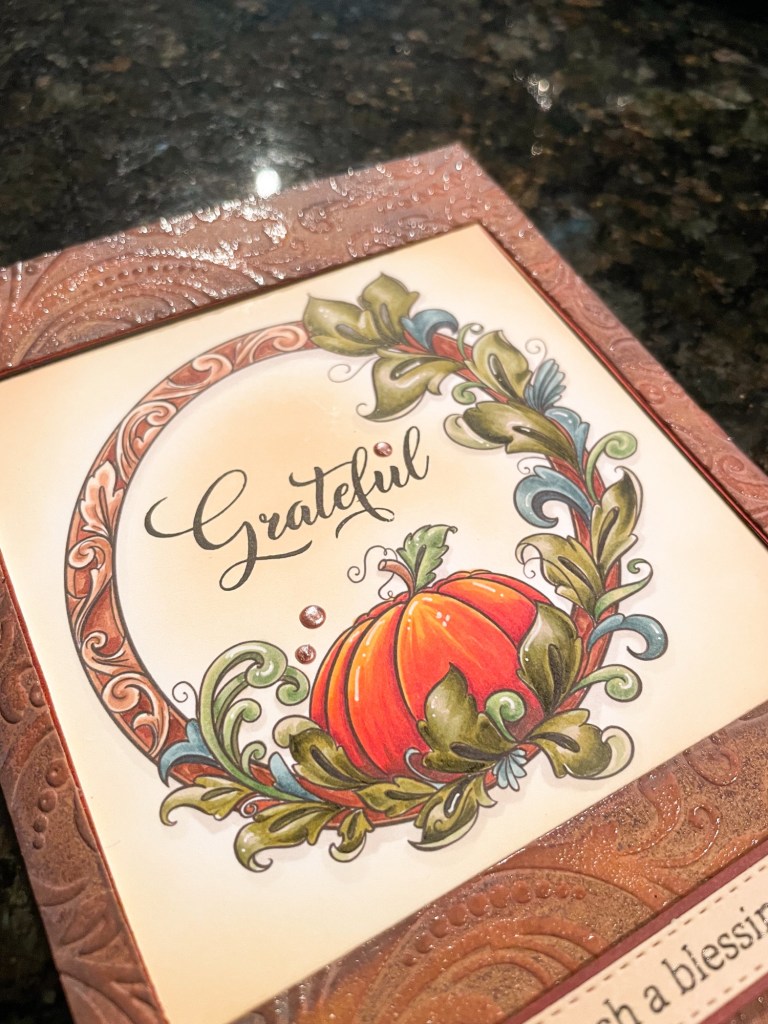
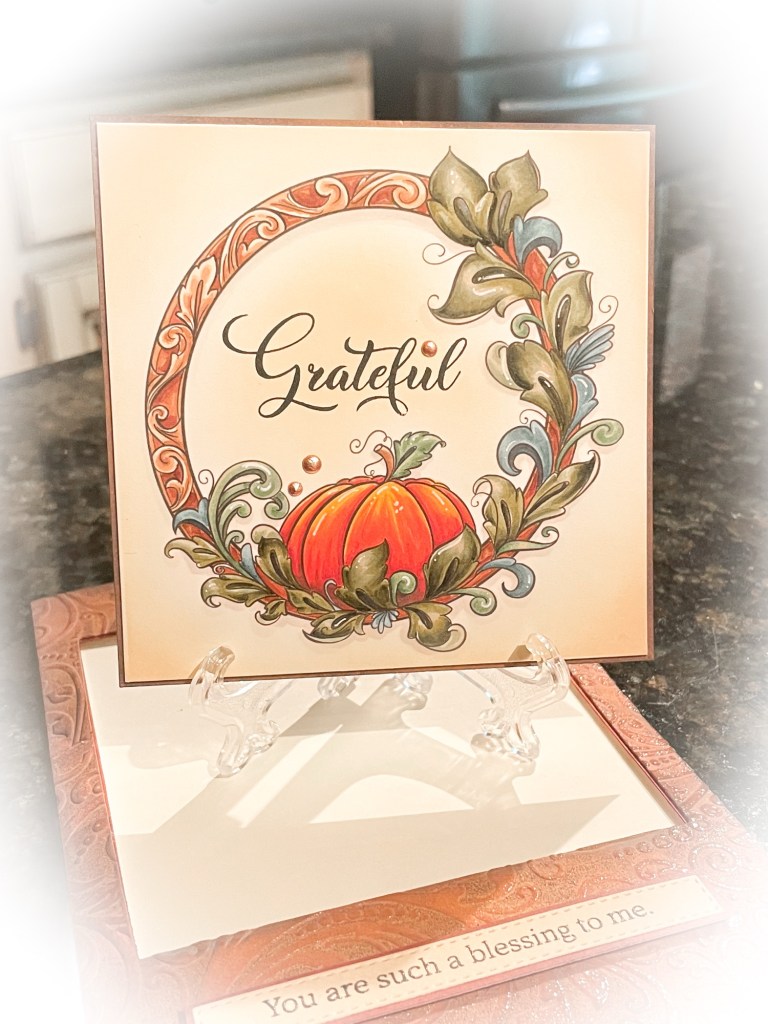
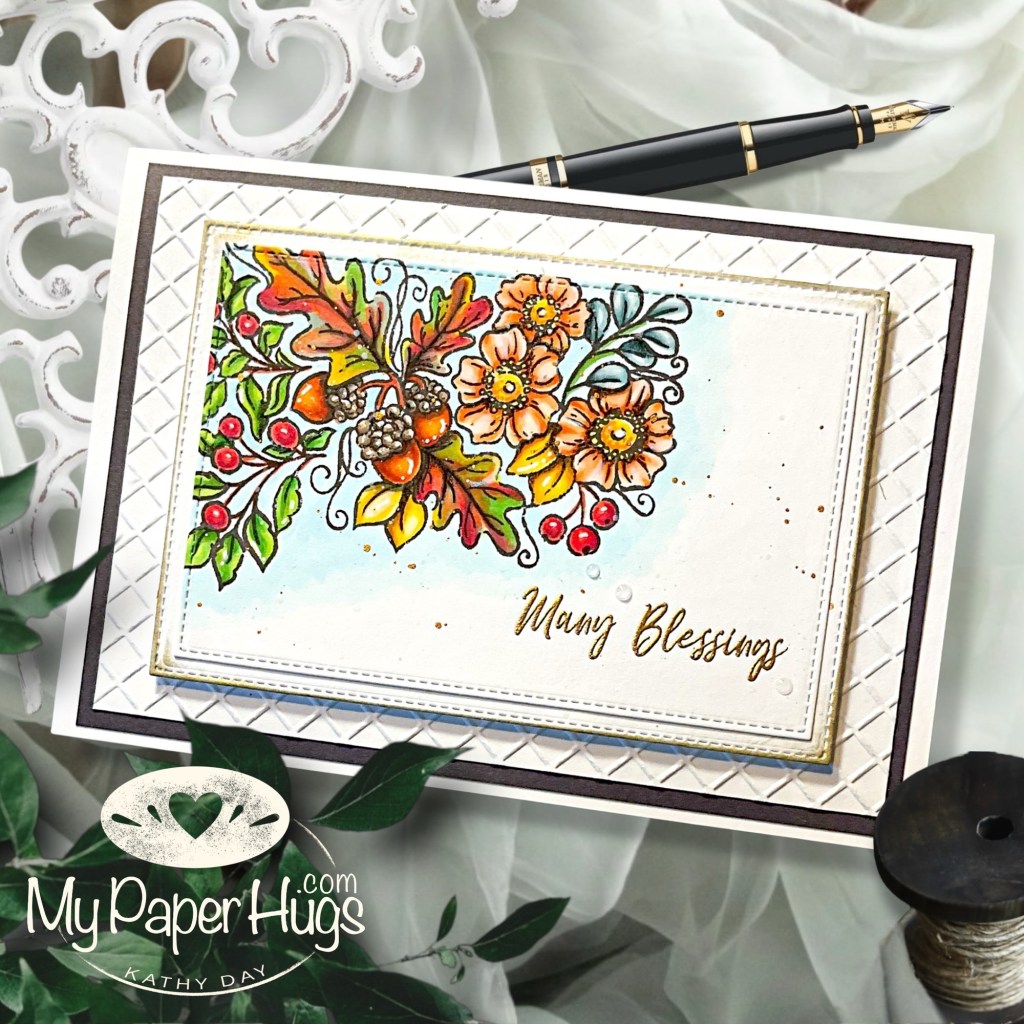
Sending gratitude with an elegant card and autumn wreath keepsake. Hug someone you love today and let them know how much they mean to you. “Let your gentleness be evident to all…the Lord is near”. ❤️🍁🍂
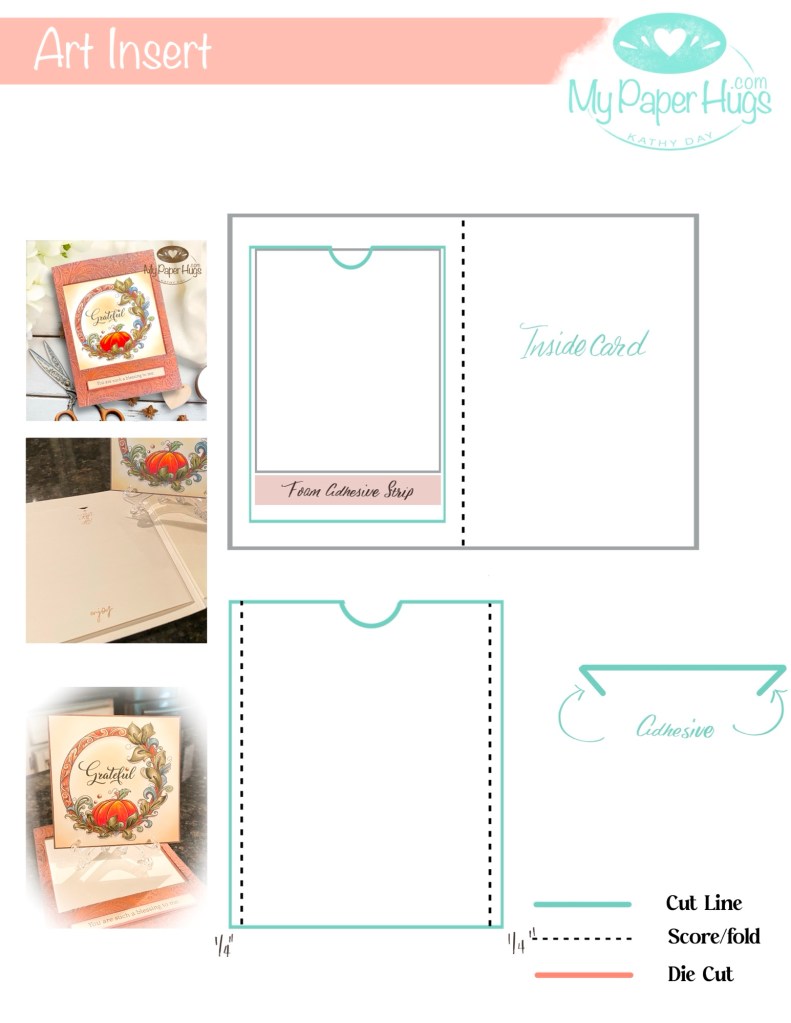
Art Insert pocket Instructions under Free downloads
As the saying goes, measure twice, cut once. The key to this card is your measurements. You can use any aperture shape. You’ll just want your keepsake to be slightly larger and your sleeve just large enough to insert the panel, but not too large for it to move around.
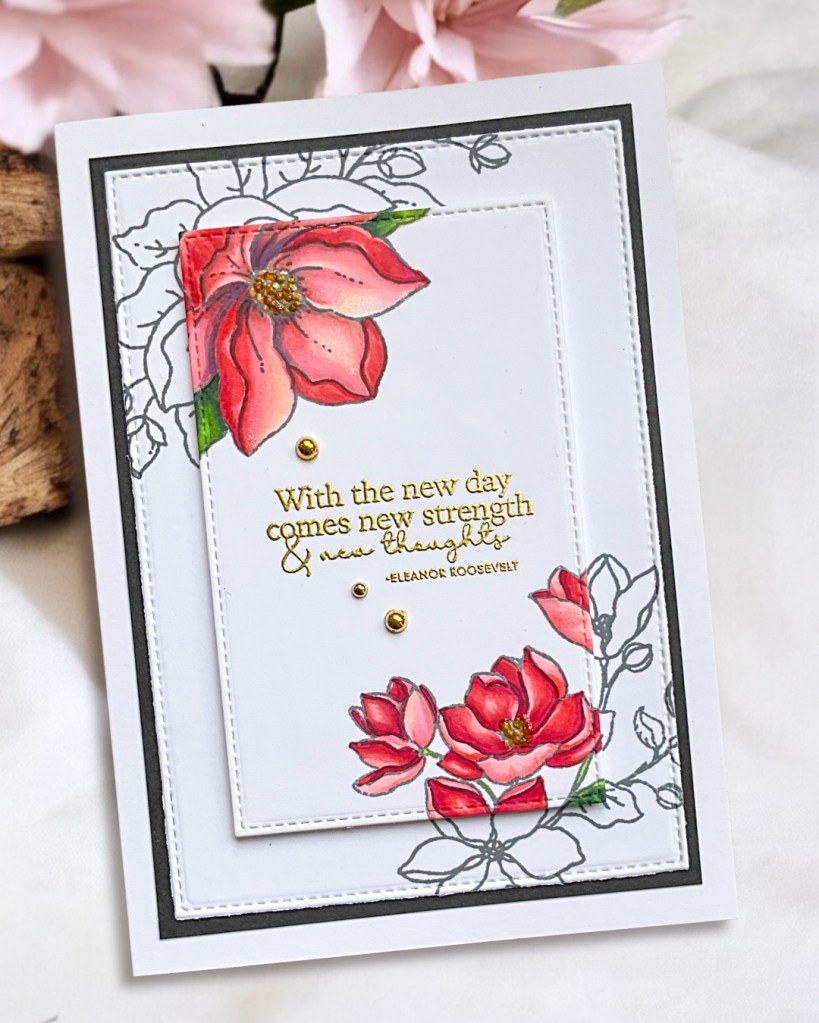
I started by coloring the autumn wreath with Copic markers, using muted fall colors. When choosing your colors remember that red and oranges are visually brought to the front so they will always look even brighter. You can download the Autumn Elegance Wreath here. Don’t trim the panel at this point we will do that at a later step..
With an A7 card base and a separate A7 panel, I lined up the panel to the card base and secured it with low tack tape then using a square dye, I cut through both the panel and the card base at the same time.
Creating the tooled leather look is simple, but it takes a little patience.
First ink, your embossing on the flatter side with a medium brown ink carefully placed the panel in the folder and secure it closed with some low tack tape. Run this through your machine. You might have to do this two or three times to get good coverage. Now with some warm, browns and some deeper colors, you’re going to carefully do some ink blending on the edges and just the raised portions. This doesn’t have to be perfect. Remember you’re just looking for leather nuances . Once you’re satisfied with the colors, carefully drag versa mark embossing ink over the raised portion of the panel. Add clear embossing powder and heat set. This really brings out the Rich tones in your panel. Use liquid glue to attach the panel to the card base place under a heavy object until dry and flat.
Trim the Keepsake panel just wider than the square opening. Use chipboard or layers of cardstock glued behind the panel so it will be a sturdy display piece. If you want to add a mat, just allow for that on the cut.
Make your inside envelope according to the directions in this free download file.
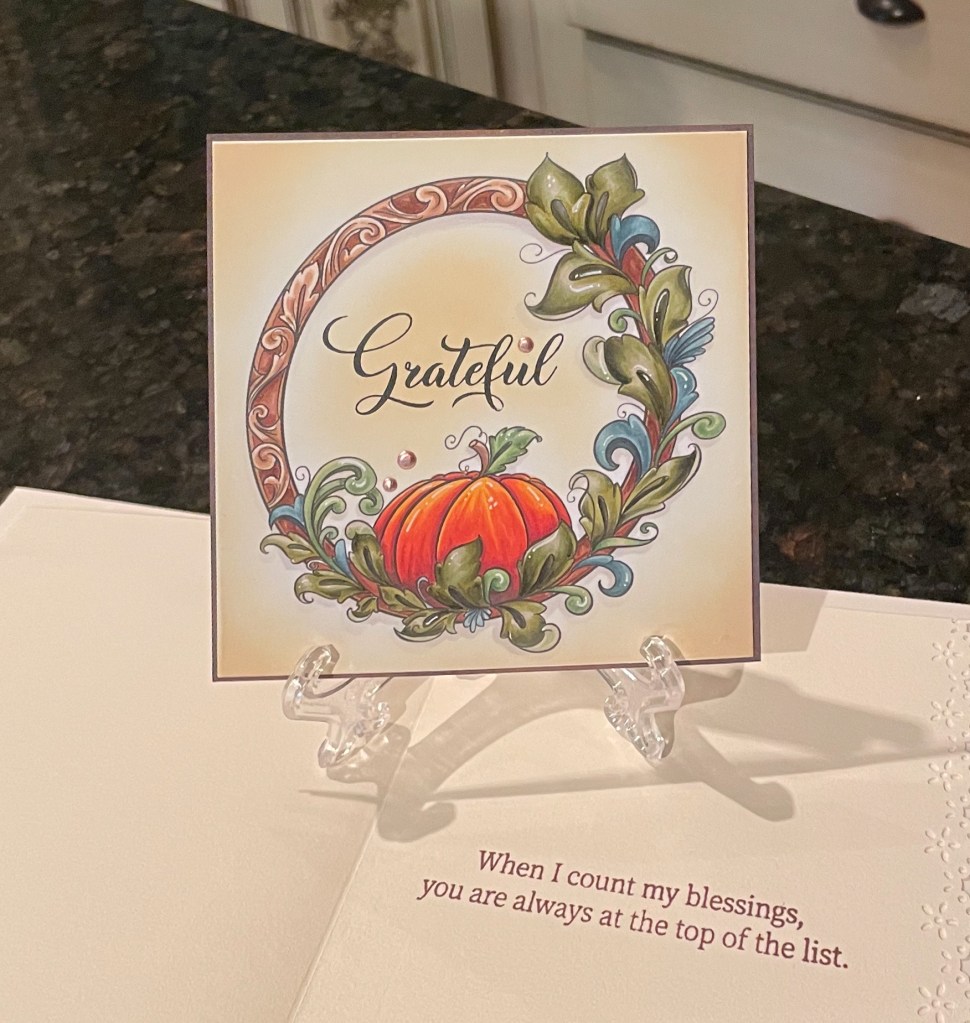
Add a card liner to refine your card. Cut a thin sheet of paper 1/4-1/2” smaller than the card base (A 5×7 at 1/2” cut would be 9 1/2” x 6 1/2”) Score in the center.
Stamp your sentiment. Close the card base and insert the liner down and inside the base. Line up the margins. Before opening the card base, clip the left side liner to the left side base. Open the card flat. The folds will look like they don’t match. That’s how you know it’s clipped correctly. Close the right side liner over the left side. Add an adhesive strip next to the fold to the back of the right side liner. Close the right base over the adhesive. It will be secure and elegant without bunching up on an open or close of the card. For this card I punched the edge of the liner for that little something.
Thanks for stopping by! If you have any questions, leave them in the comments below. Would love to see your creations! You can post on my facebook page so we can celebrate or if you’re on instagram use #mypaperhugs to tag!


I’d love to hear from you! ❤️