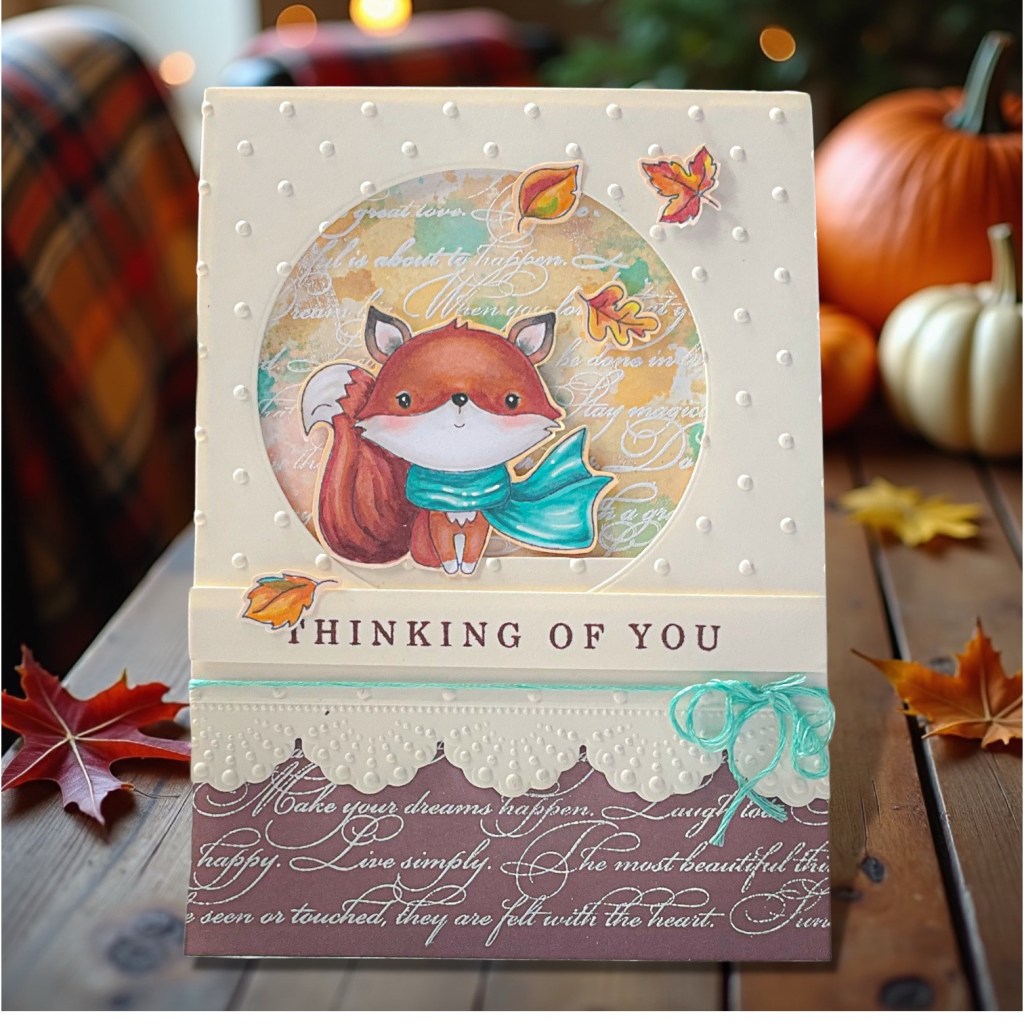
Thinking of you today! Sharing another take on the wonderful Fall foxes from Rabbit Hole Designs and playing with Multi-Media.

This handmade card is a multi-step creation that is worth every minute spent! I’ll take you through each step if you would like to try it yourself.
Creation…
I’ll breakdown each layer, and hopefully it will be easier to follow the process. This is an A6 Card size (4.5 x 6.25)
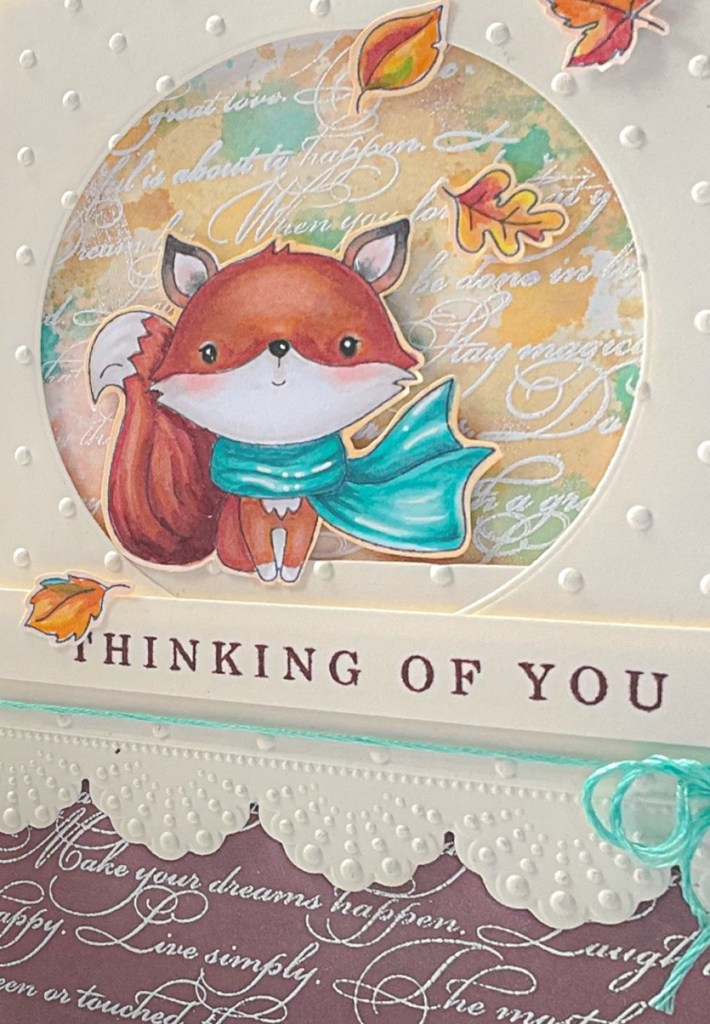
Fall Foxes: Stamped in Gray Memento Ink and colored with Copic markers. I added white gel pen for accents and fussy cut the fox and leaves.
Background panel: I ink “smooshed” the background panel using distress ink cubes. The process for creating your own smoosher can be found at NB Cards YouTube. Then with white pigment ink, I stamped the background text using the Darkroom Door Elegant Script stamp, added white embossing powder and heat set.
Front Panel: On Cream cardstock, I cut a circle with a die from my stash. Then I embossed the panel with Honeybee Stamps Eyelet lace folder and die. I trimmed the top of the panel and set aside the strip for the “shelf” for the fox to sit on.
Lower Back Panel: On Brown cardstock I used the same Elegant Script stamp as before, following the same process. White pigment ink and white embossing powder.
Sentiment: From the same Cream cardstock, I stamped the sentiment in a brown ink that closely matched the earlier Brown cardstock. NOTE: I waited to trim this until I was assembling the card.
Assembly: On a scrap piece of Cardstock, I cut an A6 size “assembly” panel.
Step 1: Glue the Brown lower back panel to the assembly panel.
Step 2: Add foam adhesive to the back of the Front embossed panel. Remove the backing. Line up the first background “ink-smooshed” panel that has been cut down to just larger than the circle and press in place.
NOTE: Before adding the panel to the assembly panel, I wrapped embroidery thread around the panel.
Add some liquid glue to the back of this assembled panel including on the sticky foam tape and carefully line up and adhere to the assembly panel.
Step 3: Cut the sentiment strip to the desired height and using foam, glue to the front of the panel. Trim the width of the strip to match the base after you have glued it down.
Step 4: Add foam adhesive to the back of the fox and determine your placement for the fox and leaves. You’ll note I popped up some of the leaves, and others I glued directly to the panel(s). Once I had the position, I used the leftover strip from the embossed panel to tuck and glue a “shelf” for the fox. Adhere the Fox and leaves.
Step 5: Optional: I don’t care for the white borders of cut dies, so with copic markers, I colored the edges to more closely match the background.
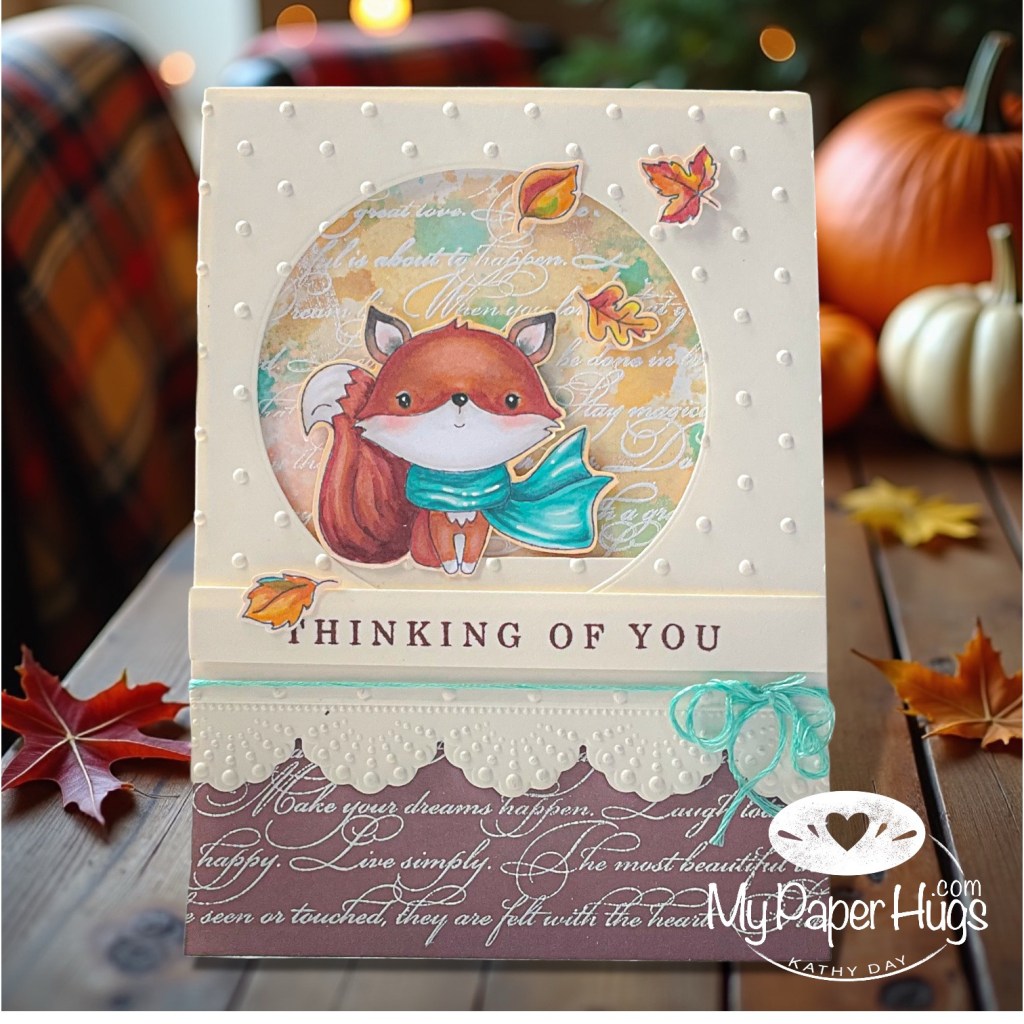
Step 6: Mount the panel to a cream card base and tie the bow.
For me this one was worth the effort!
Hugs all around – Kathy
Products Used
Rabbit Hole Designs Fall Foxes |Honeybee Stamps Eyelet Lace embossing folder with Die | Darkroom Door Elegant Script Background stamp | Copic Markers Scrapbookpal.com


I’d love to hear from you! ❤️